Creating a Flipped Classroom in a Virtual Setting
24 November 2025
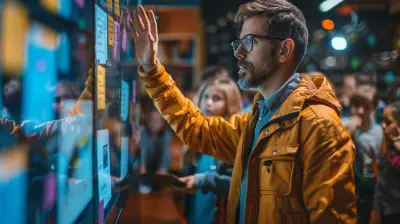
Let’s face it—virtual learning is here to stay. And while it’s shaken up traditional education, it’s also opened up a world of possibilities. One that’s gaining serious traction? The flipped classroom approach. But here’s the catch: how do you flip your classroom when the whole “classroom” is on Zoom or Google Meet? Well, that’s exactly what we’re diving into.
In this guide, we’re breaking down what the flipped classroom model looks like in a virtual setting, why it works, and how you can make it work for your students—without losing your mind in the process.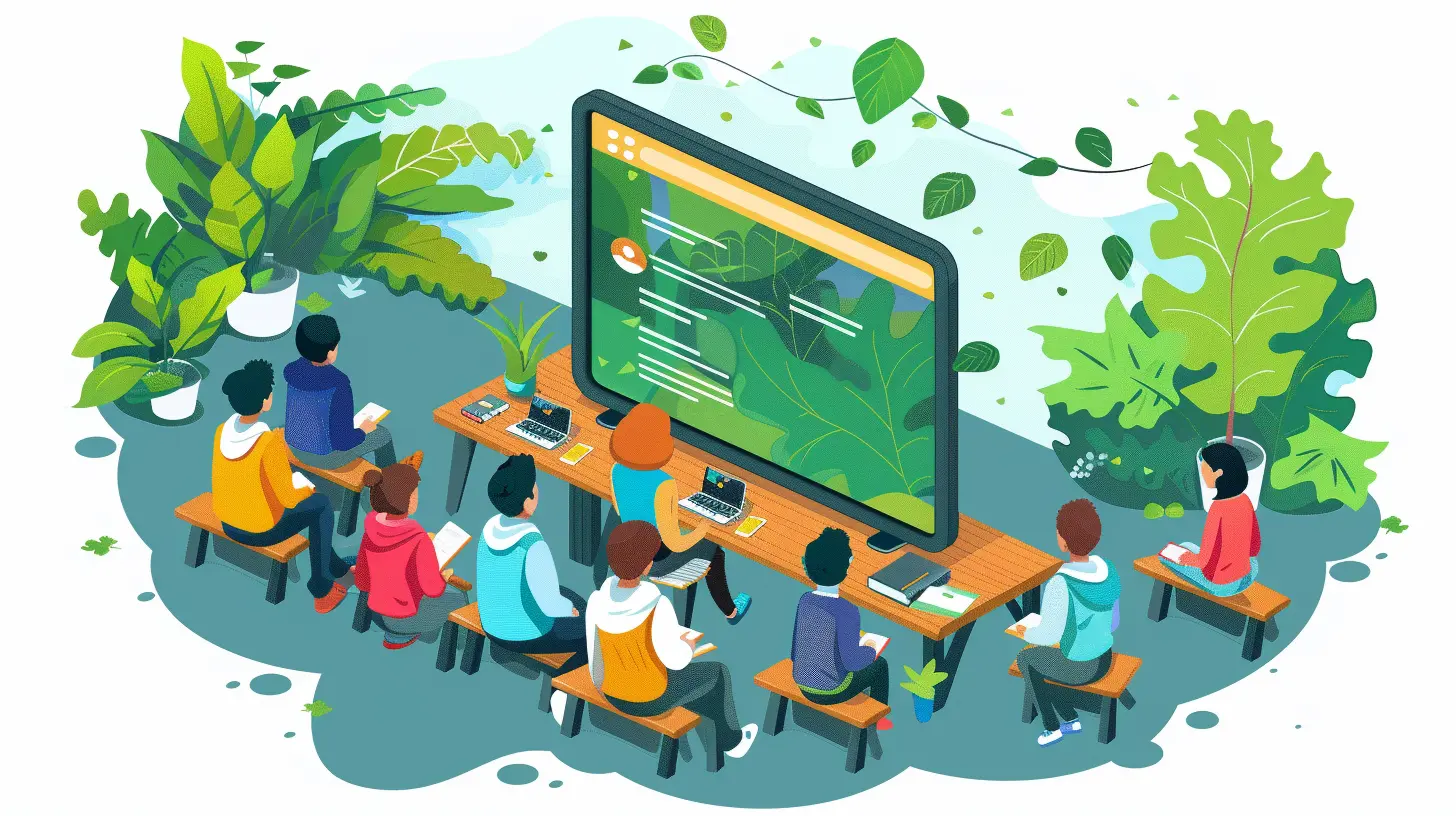
What is a Flipped Classroom, Anyway?
Imagine this—you assign students a video lecture to watch at home, and instead of zoning out in class listening to you talk, they show up ready to interact, apply, and engage. That’s the flipped classroom in a nutshell.In a traditional classroom, the teacher delivers content during class, and students do homework afterward. A flipped classroom flips that model. Students review the content on their own—via videos, readings, or online modules—and then spend class time collaborating, asking questions, and doing activities that deepen their understanding.
Sounds genius, right? Because it is.
Why Flip the Virtual Classroom?
Now you might be wondering, “If we’re already online...what’s really the difference?”Here’s the thing—virtual learning often turns into passive screen time. Students watch a live lecture with hundreds of distractions around them—think barking dogs, siblings screaming, or, let’s be real, TikTok just one tab away. The flipped model makes learning more active, more student-driven, and ultimately, more effective.
Key Benefits of a Virtual Flipped Classroom:
- Self-paced Learning: Students can pause, rewind, or rewatch content as needed.- Live Time = Quality Time: You’re not lecturing, you’re guiding, helping, and coaching.
- Increased Engagement: Students are more likely to participate when they’ve been prepped ahead of time.
- Builds Accountability: It encourages personal responsibility for learning.
Getting Started: Tools and Tech You’ll Need
You don’t need to be a tech wizard to flip your classroom online, but you do need the right tools in your toolkit. Here’s a quick list to get you going:1. Video Recording Software
You’ll need to pre-record content for students to watch outside of class. Try options like:- Loom – Super easy to use, with screen and webcam recording.
- Screencast-O-Matic – Great for more polished lessons.
- Zoom – Record your own mini-lectures straight to the cloud.
2. A Platform to Host Your Content
You want one central hub where students can access materials. Consider:- Google Classroom
- Canvas
- Schoology
- Moodle
3. Interactive Tools for Engagement
To keep things spicy during live sessions, try:- Kahoot! or Quizizz – For fun formative assessments.
- Jamboard – For collaborative brainstorming.
- Padlet – For student responses or reflections.
- Nearpod – For interactive presentations.
Creating Content Students Will Actually Watch
Let’s be honest—students have short attention spans, especially in a digital space. If your videos are dry, long, or confusing, they won’t get watched. Period.Tips to Make Engaging Lesson Videos:
- Keep it short – Aim for 5–10 minutes per video.- Talk TO them, not AT them – Use a friendly, conversational tone.
- Use visuals – Slides, images, animations—it helps hold their attention.
- Break it up – Add questions or tasks in between for “pulse checks.”
- Inject your personality – Humor, stories, even your cat in the background—make it human.
You don’t need to be Spielberg. Just be real.
Designing Your Lesson Plan Around the Flip
So you’ve got the content, your tech’s lined up—now what? The secret sauce of a flipped classroom lies in how you structure your lesson.A Sample Workflow Might Look Like:
1. Pre-Class Assignment:- Watch a 7-minute video on photosynthesis.
- Complete a short reflection or quiz on Google Forms.
2. Live Class Session:
- Start with a warm-up question based on the video.
- Break into small groups to analyze a real-life plant experiment.
- Regroup for discussion and Q&A.
3. Post-Class Activity:
- Submit a one-paragraph summary or create a visual diagram.
Boom—you’ve got engagement before, during, and after class.
Strategies to Keep Students Accountable
Let’s not sugarcoat it—some students just won’t watch the videos unless there’s a reason to. That’s where smart accountability measures come in.Try These Tactics:
- Embedded Quizzes: Use tools like Edpuzzle to insert questions directly into videos.- Reflection Prompts: Ask one “big idea” question they have to answer before live class.
- Starter Questions: Kick off every session with a question from the pre-work.
- Peer Feedback: Students review each other’s notes to stay sharp.
Remember, accountability doesn’t have to feel like punishment. It’s just nudging them to show up prepared.
Differentiation in a Flipped Virtual World
Ever feel like your lessons are either too easy for some or way too hard for others? The flipped model gives you a little breathing room to tailor instruction.Differentiation Ideas:
- Create tiered videos: Offer basic, intermediate, and challenge versions of a concept.- Allow choice: Let students choose how they show what they’ve learned—poster, slideshow, video, etc.
- Use breakout rooms: Group students by ability or interest for targeted activities.
- Offer office hours: Virtual drop-ins where students can get 1:1 help.
Flipping gives you time to coach students individually. Take advantage of it.
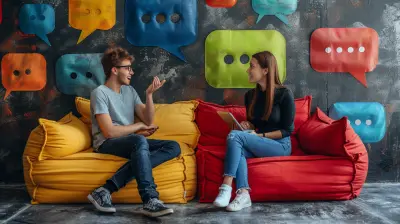
Making Collaboration Work Online
Group work in a virtual classroom can feel like herding digital cats. But when it works? It’s magic.Tips for Smooth Virtual Collaboration:
- Assign roles: Make sure everyone knows their job—timekeeper, note-taker, presenter, etc.- Use shared docs: Google Docs or Slides make real-time collaboration a breeze.
- Be clear about outcomes: What do you want the group to produce?
- Model it: Show students what good online teamwork looks like.
Don’t just tell them to work together—show them how.
Navigating Common Challenges
Okay, full transparency—it won’t always be smooth sailing. But knowing the roadblocks ahead of time gives you a head start at solving them.Challenge 1: Students Don’t Watch the Content
Fix: Keep videos short, track views, and link them to in-class participation points.Challenge 2: It Feels Like Twice the Work (for You)
Fix: Repurpose old lessons, batch record videos, and start small—flip one lesson a week.Challenge 3: Not All Students Have Wi-Fi or Devices
Fix: Offer downloadable versions, provide mobile-friendly content, and work with your school to provide tech access.Challenge 4: Parents Don’t Get It
Fix: Send home a quick explainer video or guide. Support is stronger when parents are in the loop.Measuring Success: How Do You Know It’s Working?
So, how do you know if your flipped virtual classroom is a flop—or freaking amazing?Look For:
- Higher engagement during live sessions- Improved test scores or assignment quality
- Better attendance and punctuality
- More “aha” moments and deeper discussions
You could also survey students. Ask: “Was this helpful?” “What would you change?” Their feedback is gold.
Final Thoughts
Creating a flipped classroom in a virtual setting doesn’t require reinventing the wheel—it’s about rethinking how your instruction is delivered. By flipping the script, you’re not just making learning more flexible, you’re making it more meaningful, interactive, and frankly, more fun.Start small, stay consistent, and remind yourself: you’re not just uploading videos; you’re flipping perspectives, empowering learners, and turning passive observers into active participants. Isn’t that what teaching’s all about?
all images in this post were generated using AI tools
Category:
Virtual ClassroomsAuthor:

Zoe McKay
Discussion
rate this article
1 comments
Blair Griffin
Empower learning through engagement, not location.
November 26, 2025 at 4:54 AM
Zoe McKay
Absolutely! Empowering learning through engagement fosters collaboration and deeper understanding, regardless of where students are located.